Angry Birds Tower Defense Bomb — AOE Splash
Area splash that erases packed Minion Pig clumps at bends, chokepoints, and knockback piles.
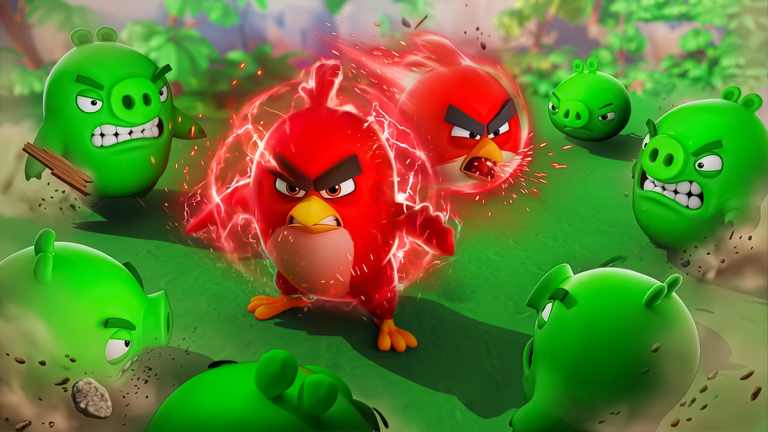
Bomb is the AOE Splash bird tower in Angry Birds Tower Defense on Roblox. Official feature lists describe him as the clump clearer: when Minion Pigs stack into a knot, Bomb’s splash hits the whole group instead of politely deleting one body at a time. He complements Red’s single-target focus and Chuck’s piercing lines by solving the geometry problem those two create—or inherit—whenever the path folds pigs together.
This page explains Bomb’s role, when to spend Gold on him, placement around bends and chokepoints, synergies with the rest of the starter flock, and how his value shifts from early South Beach into later chapters. Keep the Players Hub open for roster navigation, then compare rankings on the Bird Towers Tier List and practical drafts on Early Loadouts.
Role: AOE Splash
AOE Splash means Bomb’s attacks damage multiple pigs in a radius. He thrives wherever enemies overlap in space: tight bends, merge points of the track, spawn bursts, and piles created by Stella knockback. He is less efficient as your only tower on a long sparse straight—Red or Chuck will extract more damage per Gold there—because splash radius wasted on empty air does nothing.
Bomb is also a panic button for UNITS ALIVE spikes. When the counter climbs because a clump formed outside your focus towers’ comfort zone, a well-placed Bomb resets the board so the rest of the flock can resume orderly work.
When to place Bomb
Place Bomb when you see or expect packing:
- Path bends that visually pinch the march.
- Waves that spawn denser groups after early tutorials.
- Moments after Stella shoves several pigs into the same tile cluster.
- Co-op games where teammates already cover pierce and single-target, leaving splash as the open role.
Delay Bomb if the current threat is a lone boss with no escorts—Terence or Red will spend Gold more honestly. Reintroduce Bomb the second escorts return; boss breakers hate drowning in trash.
In the opening minutes of a chapter, secure at least one Red (or equivalent focus) before your first Bomb unless a tutorial wave is already clumping dangerously. Economy lessons from How to Play still apply: splash is powerful, not free.
Placement tips
- Own the bend. Seat Bomb where the track turns sharply so multiple pigs share his splash radius at once.
- Cover chokepoints marked by green arrows squeezing into a narrow approach.
- Synch with Stella. Knockback that pushes pigs back into Bomb’s radius is free multi-target damage—leave a tile plan for both.
- Support Chuck lines. When pierce softens a column that then bunches at a corner, Bomb finishes the knot.
- Avoid pure desert tiles. If the splash circle mostly covers empty ground, you overpaid for aesthetics.
- Merge for splash identity. Upgrades that enlarge radius or splash damage reinforce why you brought Bomb—details in Merge and Upgrade.
Synergies with other birds
- Red: Bomb softens or deletes packs; Red executes survivors and priority pigs that crawl out of the blast zone.
- Chuck: Chuck handles lined marches; Bomb handles the messy corners those marches dump into. Together they cover both “column” and “clump” failure modes.
- Terence: Bomb keeps escorts off Terence so heavy hits land on bosses. In co-op, explicitly assign splash versus boss break so neither role is missing.
- Stella: Highest synergy ceiling. Stella stalls and stacks pigs; Bomb converts stacked pigs into corpses. Place them as a paired system, not as strangers on opposite map edges.
Across 60+ Angryverse unlocks, treat Bomb as the splash benchmark. New AOE birds should clearly beat his clump clear on your current maps before you retire him from loadouts.
Early versus late value
Early: Medium-high after Red is online. South Beach teaches packing gradually; Bomb’s first appearance often turns a stressful mid-beach stretch into a stable farm.
Mid: Very high. Enemy density rises faster than single-target can scale. Splash becomes mandatory for clean Health bars.
Late: Essential on swarm-heavy scripts and still valuable as escort control during boss chapters. Pure boss maps still need Bomb for the trash between boss checkpoints. Players who drop splash entirely in late game frequently discover leaks at the worst possible time.
Co-op notes
Say “I am covering splash bends” in chat or voice. Teammates can then claim pierce straights, focus nests, and knockback corners. Two Bombs on the same bend with zero Stella and zero pierce elsewhere is a common co-op misdraft—spread roles, then stack splash only if the map has multiple independent clump zones.
Related links
Players Hub · Red · Chuck · Terence · Stella · Getting Started · How to Play · Merge and Upgrade · Co-op · South Beach · Bird Towers Tier List · Early Loadouts · Codes · Launch Updates.
Bomb is the flock’s reset button for geometry. Put him where pigs overlap, pair him with Stella when you can, and let Red, Chuck, and Terence handle the jobs splash was never meant to own.
Frequently Asked Questions
Quick answers for Angry Birds Tower Defense on Roblox.
What is Bomb’s role?
Bomb is the AOE Splash tower. He clears clumps of Minion Pigs packed into bends, chokepoints, or knockback piles instead of focusing a single target.
Where should I place Bomb?
On sharp bends and chokepoints where multiple pigs share his splash radius. Avoid long sparse straights better served by Red or Chuck.
How does Bomb synergize with Stella?
Stella’s knockback can shove several pigs into the same space. Bomb’s splash then damages the whole pile, turning control into area damage.
Should Bomb be my first tower?
Usually no. Establish Red (150 Gold single-target DPS) first, then add Bomb when waves start clumping. Exceptions exist if a stage immediately packs pigs into a bend.
Is Bomb useful against bosses?
Bomb helps by deleting escort clumps around bosses so Terence can focus the big target. For raw boss breaking, prioritize Terence and support him with splash rather than replacing him.