Angry Birds Tower Defense Stella — Knockback Support
Stall and shove Minion Pigs to buy time for Red, Chuck, Bomb, and Terence to finish the job.
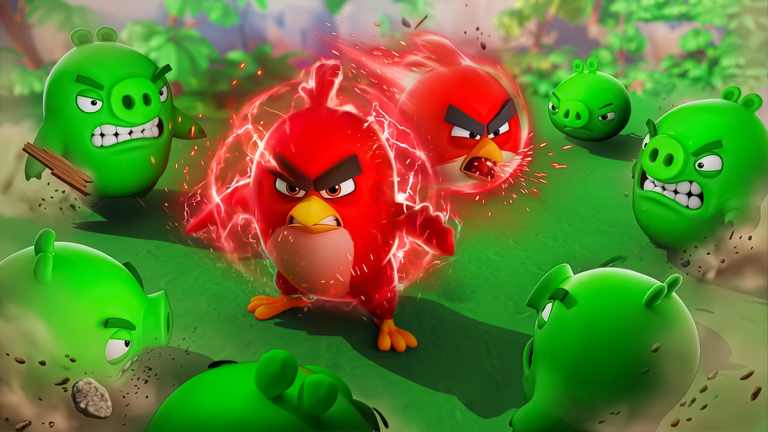
Stella is the Knockback and Support bird tower in Angry Birds Tower Defense on Roblox. Official feature lists call her out for knockback and support: she stalls pigs, disrupts march timing, and creates windows for your damage dealers to catch up. Stella does not replace Red’s single-target DPS, Chuck’s pierce, Bomb’s splash, or Terence’s boss break—she multiplies whatever those towers already do by keeping enemies inside their ranges longer.
This page covers Stella’s role, when to place her, chokepoint tips, flock synergies, early versus late value, and co-op coordination. Orient from the Players Hub, then compare rankings on the Bird Towers Tier List and practical drafts on Early Loadouts. Mechanics primers live in Getting Started and How to Play.
Role: Knockback / Support
Knockback and support means Stella’s primary product is time. Time on the path equals more Red shots, more Chuck pierce ticks, more Bomb splash procs, and more Terence heavy hits. She shines at chokepoints, just before a dangerous bend, and anywhere pigs would otherwise sprint through a damage nest in a single heartbeat.
Stella is a poor solo clear plan. A map defended only by knockback still loses when nobody deals damage. Draft her as the fifth role in the classic set—or as the glue in co-op when three friends already cover focus, pierce, and splash.
When to place Stella
Place Stella when:
- Pigs are escaping damage zones with Health remaining.
- A boss is about to walk out of Terence’s range and you need one more stall cycle.
- Bomb needs pigs stacked; knockback can shove several bodies into the same splash footprint.
- Wave skips or speed-ups are making marches too fast for your current DPS to react—Stella buys decision time while you drop another tower.
Delay Stella if you still have zero damage towers and Gold is scarce. Support without DPS is polite failure. On early South Beach, learn Red’s 150 Gold placement first, add clear tools, then introduce Stella once leaks are caused by speed rather than raw missing damage.
Placement tips
- Guard the exit of a DPS nest. Put Stella where pigs leave Red or Terence range so knockback shoves them back in.
- Feed Bomb clumps. Aim knockback so multiple pigs overlap inside Bomb’s splash radius.
- Respect green arrows. Knockback interacts with travel direction—place where a shove meaningfully lengthens path time.
- Avoid isolated islands. Stella far from any damage tower wastes the stall she creates.
- Coordinate wave skips. If the party skips early, Stella’s stall is often what keeps Health stable—announce before you skip.
- Merge for control identity. Upgrades that improve knockback frequency or support strength reinforce why she is in the loadout—see Merge and Upgrade.
Synergies with other birds
- Red: Highest beginner synergy. Knockback increases Red’s time-on-target after you spent 150 Gold on him—protect that investment.
- Chuck: Stalled columns stay in the pierce line longer, raising multi-target chip before pigs reach the nest.
- Bomb: Signature combo. Stella stacks; Bomb detonates. Place them as a planned pair on bends.
- Terence: Bosses that get shoved back into heavy range die dramatically faster. Stella turns Terence from “walked past once” into “took three full cycles.”
When the Angryverse roster grows past 60+ characters, judge new support or control birds by whether they create more productive time for your existing DPS than Stella already does on your main maps.
Early versus late value
Early: Medium. Optional on the absolute first waves, then quickly valuable once pigs outpace a single Red.
Mid: High. Density and speed rise together; knockback prevents mid-chapter Health bleed while you fund merges.
Late: Very high in optimized flocks. Boss scripts, dense escorts, and co-op desyncs all punish missing control. Stella is often the difference between a clean clear and a nested wipe when damage was “almost enough.”
Track patch notes on Launch Updates and claim progression help from Codes so support unlocks and merges stay on schedule.
Co-op synergy notes
Support is the role most often forgotten in four-player drafts. If chat is full of people claiming Red clones and duplicate Bombs, take Stella and ask damage dealers to stand near your stall zones. Call targets: “Stalling the north bend for Bomb.” Synergy is a conversation, not a hope. Full teamwork habits are expanded in the Co-op Guide.
Related links
Players Hub · Red · Chuck · Bomb · Terence · Getting Started · How to Play · Merge and Upgrade · Co-op · South Beach · Bird Towers Tier List · Early Loadouts · Codes · Launch Updates.
Stella sells time. Buy time for the flock, spend that time on damage, and the eggs stay safe.
Frequently Asked Questions
Quick answers for Angry Birds Tower Defense on Roblox.
What does Stella do?
Stella is Knockback and Support. She stalls and shoves pigs, creating extra time for DPS towers like Red, Chuck, Bomb, and Terence to deal damage before enemies reach the eggs.
Can I clear stages with only Stella?
No. Knockback without damage still lets pigs eventually leak. Pair Stella with at least one focused DPS tower and preferably splash or pierce for denser waves.
Where should Stella be placed?
At chokepoints and at the exit of damage nests so knockback pushes pigs back into Red, Bomb, or Terence range. Keep her near allies that benefit from extra time-on-target.
How does Stella help Bomb and Terence?
Knockback can stack several pigs inside Bomb’s splash radius and hold bosses inside Terence’s heavy range for additional hit cycles, multiplying both towers’ effectiveness.
Is Stella important in co-op?
Yes. Support is often under-drafted. One player on Stella while others cover focus, pierce, splash, and boss break creates the strongest five-role coverage the starter flock offers.