How to Play Angry Birds Tower Defense
HUD, gold, health, speed multipliers, skip, and smart tower placement.
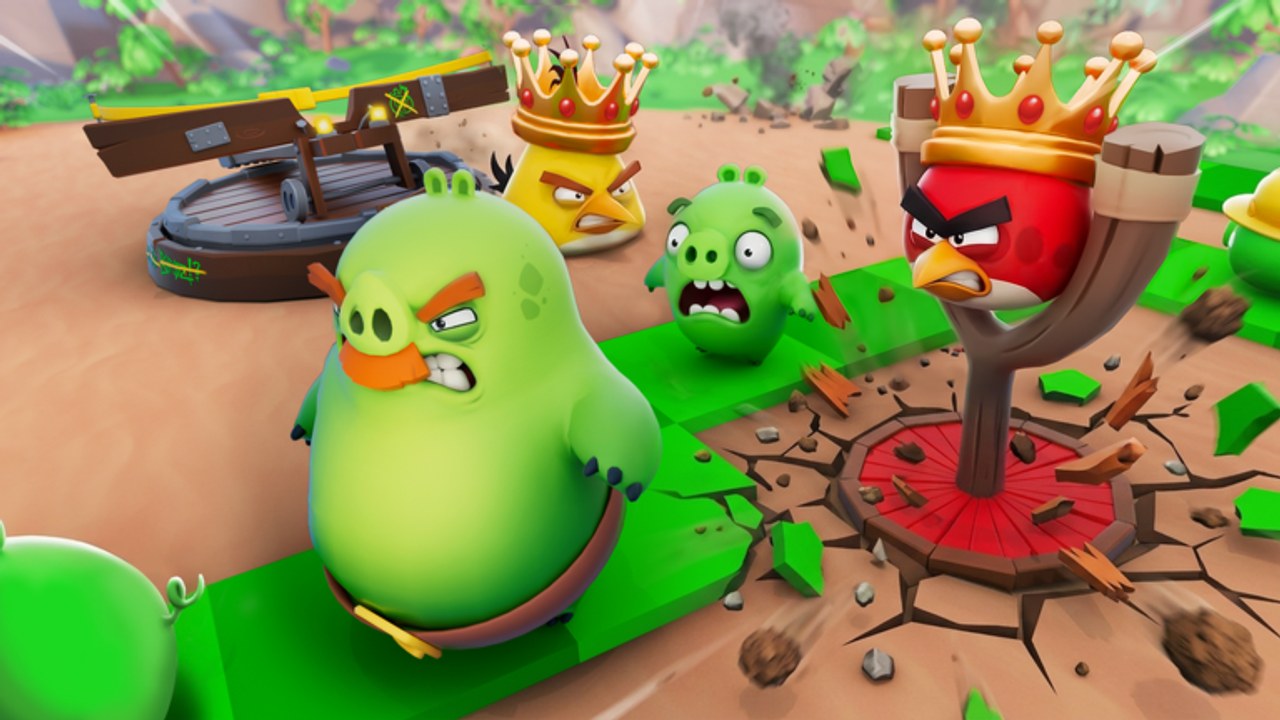
Angry Birds Tower Defense plays like classic path-based tower defense with Angryverse personality. Pigs march along a fixed route toward your eggs. Bird towers you place beside that route attack automatically. You win by surviving every wave with health remaining; you lose when pigs chew the nest down to zero. This guide explains the HUD, economy, speed controls, skip behavior, and placement habits that keep early South Beach runs stable.
Objective in one sentence
Stop King Pig’s army from reaching the eggs by spending Gold on bird towers, reading the path, and managing wave tempo — solo or in co-op with up to four players.
HUD elements you must respect
WAVE tells you which assault is active. Treat rising wave numbers as a difficulty curve, not a scoreboard vanity metric. Later waves mix denser packs and tougher pigs; if you burned all gold on wave two vanity towers, wave eight will punish you.
UNITS ALIVE shows how many pigs are still on the map. Use it before you skip. If the counter is still high and your towers are overextended, skipping into the next spawn can overlap threats and create a leak you cannot patch mid-path.
Health starts at 100. Every pig that reaches the nest chips that pool. You do not need perfect zero-leak play on day one, but you do need to notice when health is trending down fast enough that the next skip is greed, not skill.
Gold is your placement and upgrade currency during a run. Red’s 150 Gold cost is the tutorial tax — place him where he works for many seconds of path time. Hoard enough reserve for the next bird instead of zeroing the wallet on cosmetic coverage.
Speed controls: 1X through 7X
The game offers 1X, 2X, 3X, 5X, and 7X simulation speeds. Faster speeds are fantastic once your line is proven and you are farming chapter XP. They are terrible while you are still learning green-arrow geometry. Recommended habit:
- 1X–2X while learning a new bend or bird.
- 3X–5X when the line is stable and you are watching for leaks.
- 7X only for clean farms where you already know the wave script.
If you die on 7X, do not blame the bird roster — drop speed, rebuild the line, and re-learn the leak point.
SKIP TO NEXT WAVE
SKIP TO NEXT WAVE advances when you believe the current pack is handled. In solo play, that decision is yours. In co-op, coordinate so one player does not skip while another is still placing a Bomb on a chokepoint — see Co-op for squad etiquette and skip voting habits. Skipping with high UNITS ALIVE remaining is the most common soft-fail for new flocks.
Reading the path: green arrows
Green arrows mark travel direction for Minion Pigs and later enemies. Always place relative to arrow flow. Long straightaways favor single-target DPS like Red. Tight clusters and corners favor splash from Bomb. Piercing speed from Chuck shines when pigs stack in lanes. Heavy hitters like Terence belong where bosses or tanky pigs linger. Stella knockback and support help when pigs bunch near the nest and you need breathing room.
Early Minion Pigs with roughly 26 HP are teaching tools. If Red cannot clear them comfortably, your placement angle is wrong — move him before you invent a gold crisis.
Placing towers without panic
- Confirm arrow direction and longest covered segment.
- Place Red (150 Gold) as the anchor DPS.
- Watch one full wave at low speed.
- Add the next bird only when gold and a clear role gap exist (splash, pierce, boss, support).
- Revisit merge goals after the run via Merge and Upgrade.
Loadout reality check: Red starts unlocked; a + slot waits for another bird; slots locked at 5 / 7 / 12 open as you hit those thresholds. You cannot field a fantasy six-bird composition on minute five. Build around what the loadout actually allows, then refine with Early Loadouts and Bird Towers.
Chapter context
South Beach is the live launch chapter. Practice HUD discipline there before Cornucopia Woods and Bird Village arrive. Pushing for the Storm The Beaches badge is easier when you treat speed and skip as tools, not toys — full chapter notes live in South Beach.
Practice drills for new players
Run three short drills before you chase perfect clears. First, play an entire early wave at 1X and narrate out loud where pigs enter, turn, and exit Red’s range — if you cannot describe the path, you are not ready for 5X. Second, force yourself to end two waves with unused Gold in the bank; that trains reserve discipline for emergency towers. Third, intentionally mis-place one bird on a dead corner, watch the leak, then sell the lesson and rebuild correctly. Those three habits transfer into co-op faster than any random tip video.
When health drops below comfortable margins, stop experimenting. Drop speed to 1X, count UNITS ALIVE, and only place a tower that covers the leak segment. Adding a random bird on the opposite side of the map feels productive and solves nothing. After the run, jot which bend failed and check whether Chuck pierce, Bomb splash, Terence burst, or Stella knockback would have fixed it — then open that bird’s page under Players before the next attempt.
Related guides and hubs
Return to the Guides Hub anytime. Continue with Getting Started if you still need codes and badge orientation, Merge and Upgrade for XP spending, Co-op for four-player roles, and South Beach for chapter execution. Meta picks live under Tier List. Keep Codes, Updates, Launch, Tools, Wiki links, and Scripts bookmarked for rewards and patch awareness.
Master the HUD once and every later bird unlock feels like adding instruments to an orchestra you already conduct — not like learning a new game from zero every session.
Frequently Asked Questions
Quick answers for Angry Birds Tower Defense on Roblox.
What does Health start at in Angry Birds Tower Defense?
Health starts at 100. Pigs that reach the nest reduce it; manage leaks early so later waves have a buffer.
When should I use SKIP TO NEXT WAVE?
Skip only when UNITS ALIVE is under control and your towers cover the path. Skipping into overlapping spawns causes most early losses.
Which speed should beginners use?
Stay on 1X or 2X while learning paths. Move to 3X–5X for stable lines and reserve 7X for proven farm runs.
What do the green arrows mean?
Green arrows show the direction pigs travel. Place towers where they cover long stretches of that flow for maximum attack time.
How does Gold work during a match?
Gold funds tower placement and in-run needs. Red costs 150 Gold, so plan the first spend carefully and keep a reserve for the next role gap.